
Record a tab, your screen or a file
You do not need a supported call platform to make a recording. The web app can record a browser tab or your microphone and can take a file you already have. The Chrome extension can record any tab, window or screen.
Open the New recording dialog
Section titled “Open the New recording dialog”- Open recordmeeting.com/app.
- Click New recording in the sidebar.
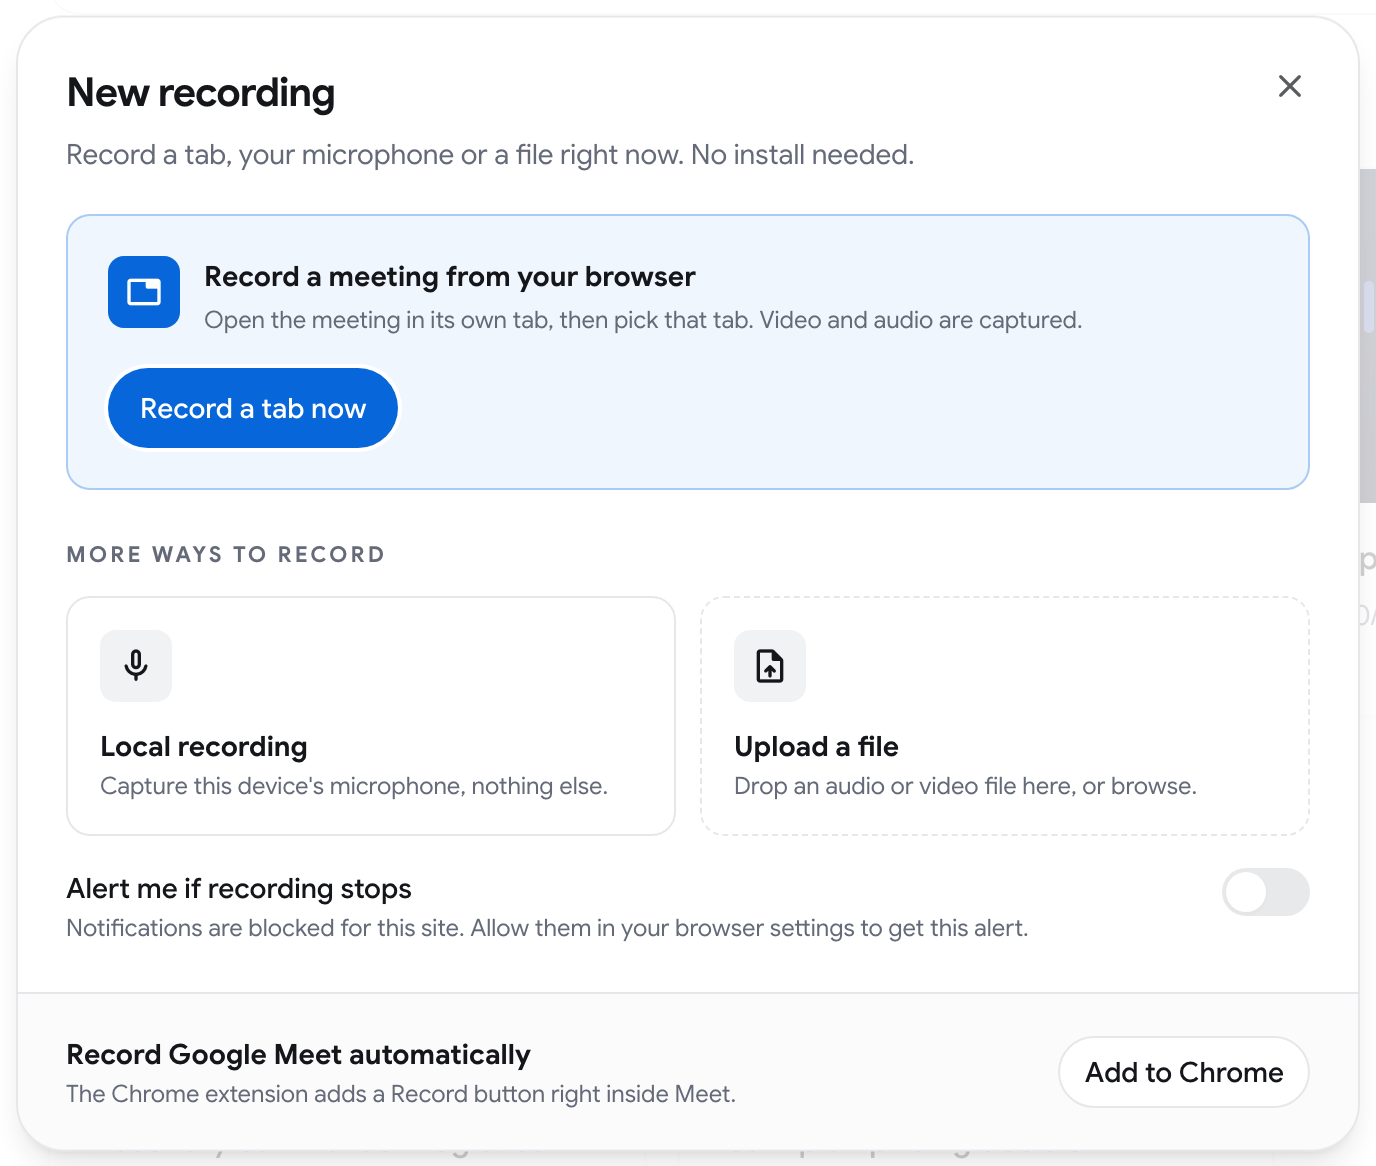
Record a tab now
Section titled “Record a tab now”Use this for a meeting on any website, with nothing installed.
- Open the meeting in its own browser tab.
- In the dialog, click Record a tab now. If the browser asks for microphone access, allow it, then click the button again.
- In the browser’s picker, choose that tab and turn on Also share tab audio.
- Keep the Record Meeting page open while it records. You can Pause and Resume.
- Click Stop and save when you are done.
The recording contains the tab’s video and audio plus your microphone.
Recording a tab works in Google Chrome and Microsoft Edge. In other browsers the option is not available.
Local recording
Section titled “Local recording”Local recording captures this device’s microphone and nothing else. Use it for an in-person meeting or a voice note.
- Click Local recording and allow microphone access.
- Keep the page open and in front while it records.
- Click Stop and save.
Upload a file
Section titled “Upload a file”Drop an audio or video file on Upload a file, or click it to browse. The file becomes a recording in your library.
- A video file can be up to 6 hours long.
- An audio file can be up to 12 hours long.
Alert me if recording stops
Section titled “Alert me if recording stops”Turn on Alert me if recording stops to get a browser notification if the recording stops capturing while you are in another tab. The browser asks for permission to show notifications. If notifications are blocked for the site, allow them in your browser settings first.
Record My Screen with the extension
Section titled “Record My Screen with the extension”The Chrome extension can record any tab, a window or your whole screen, also outside a call.
- Click the Record Meeting icon in the browser toolbar to open the side panel.
- Click Record My Screen.
- Under Source, choose Record current tab or Record a screen or window.
- Start the recording. The first time, Chrome asks you to allow an extra permission for the extension. For a screen or window, Chrome then asks which one to share.
- A small Screen recording window opens and minimizes itself. Leave it open: closing it stops the recording. You can close the side panel.
- To finish, click Stop Recording in the side panel or use Chrome’s Stop sharing bar.
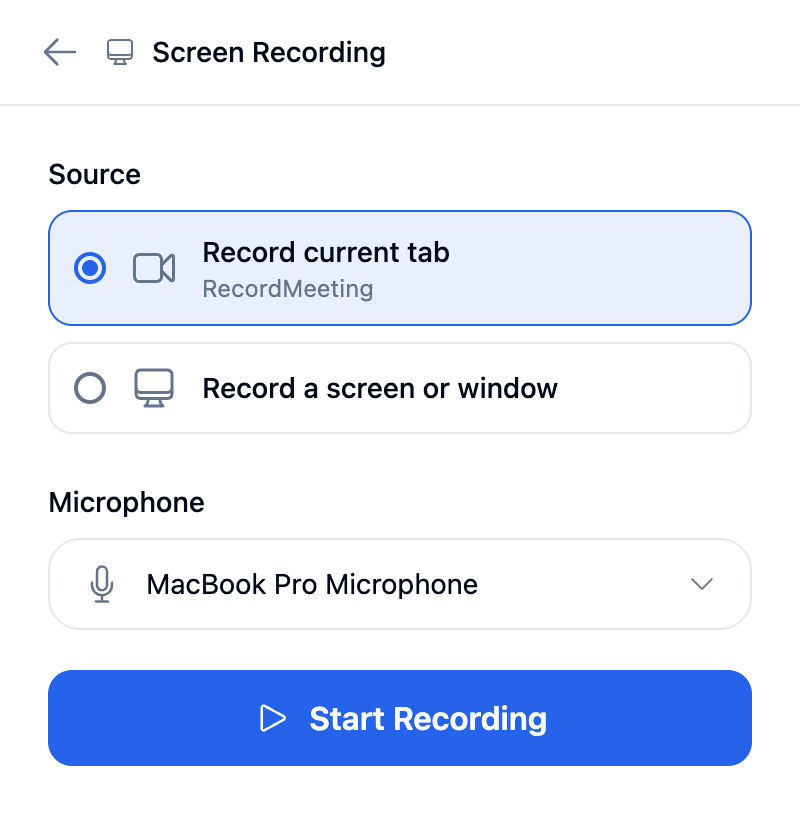
Your microphone is always recorded. The sound of the screen is recorded when the browser can share it. A shared window on macOS has no system audio, so choose a tab when you need the sound.
Where the recording goes
Section titled “Where the recording goes”Every recording made this way appears in your library in the web app, next to your call recordings. Recordings shorter than 1 second are discarded.