
Recordings list
The Your Recordings page lists every recording in your workspace, newest first. Open it with Recordings in the sidebar.
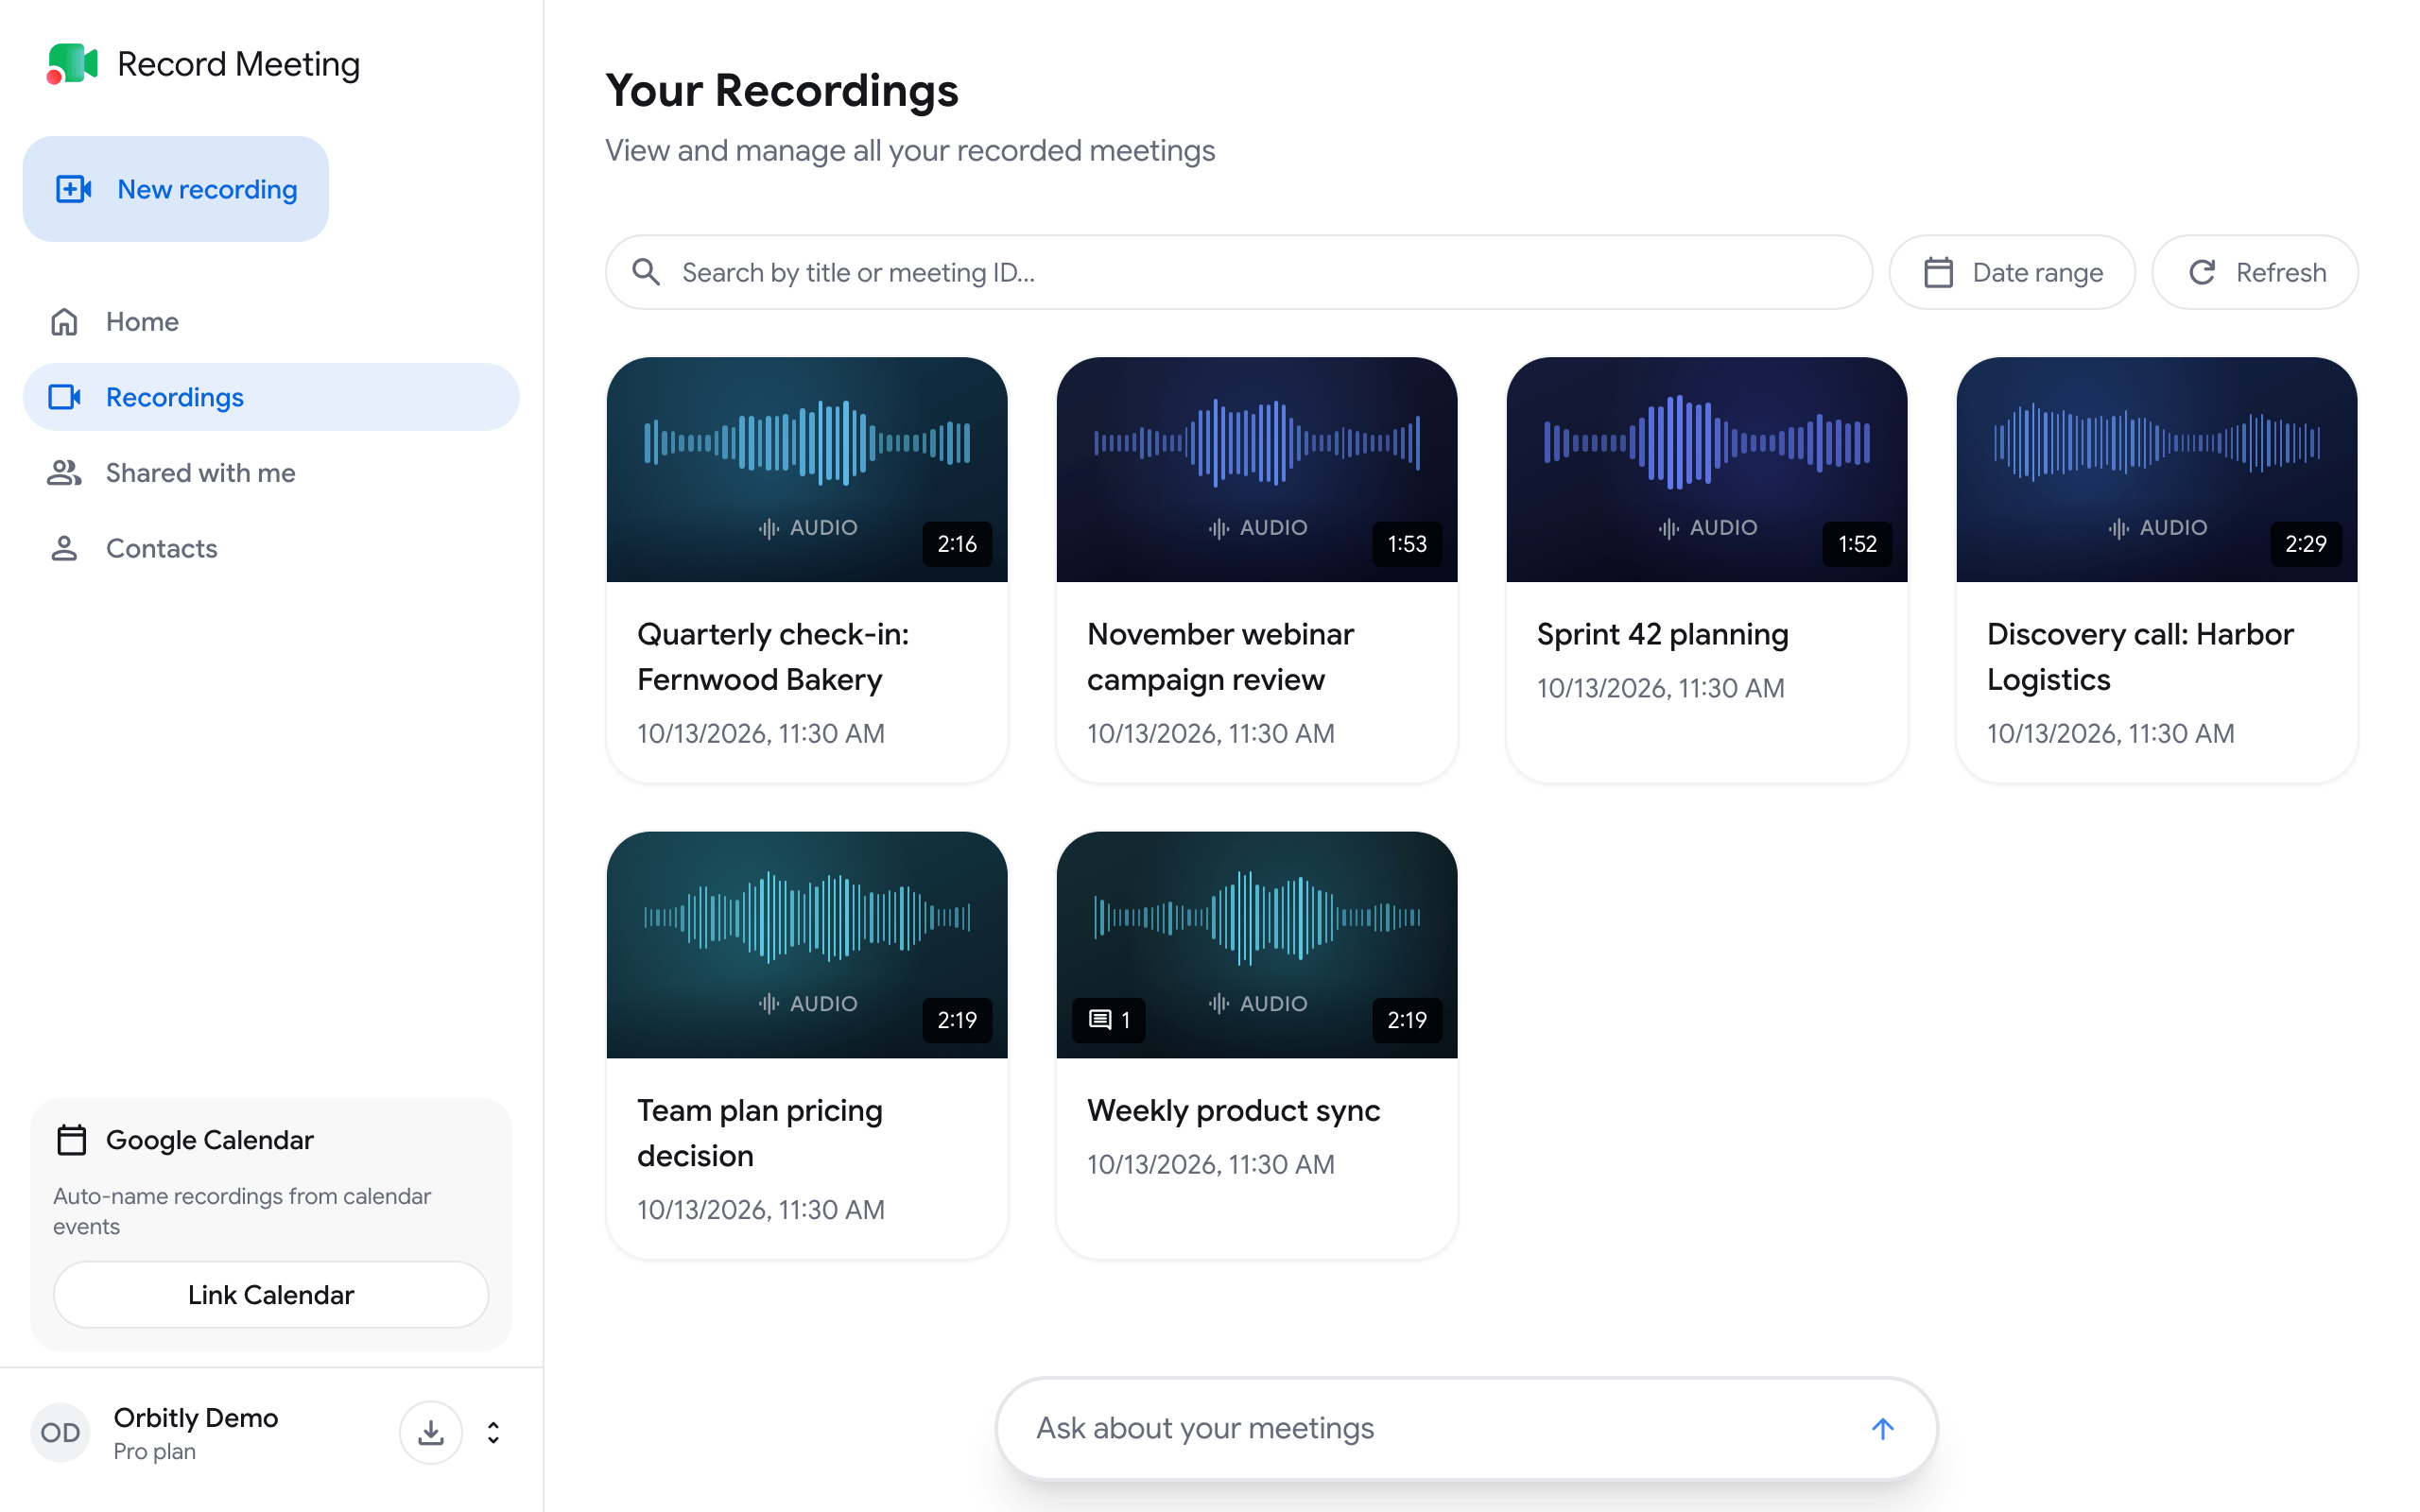
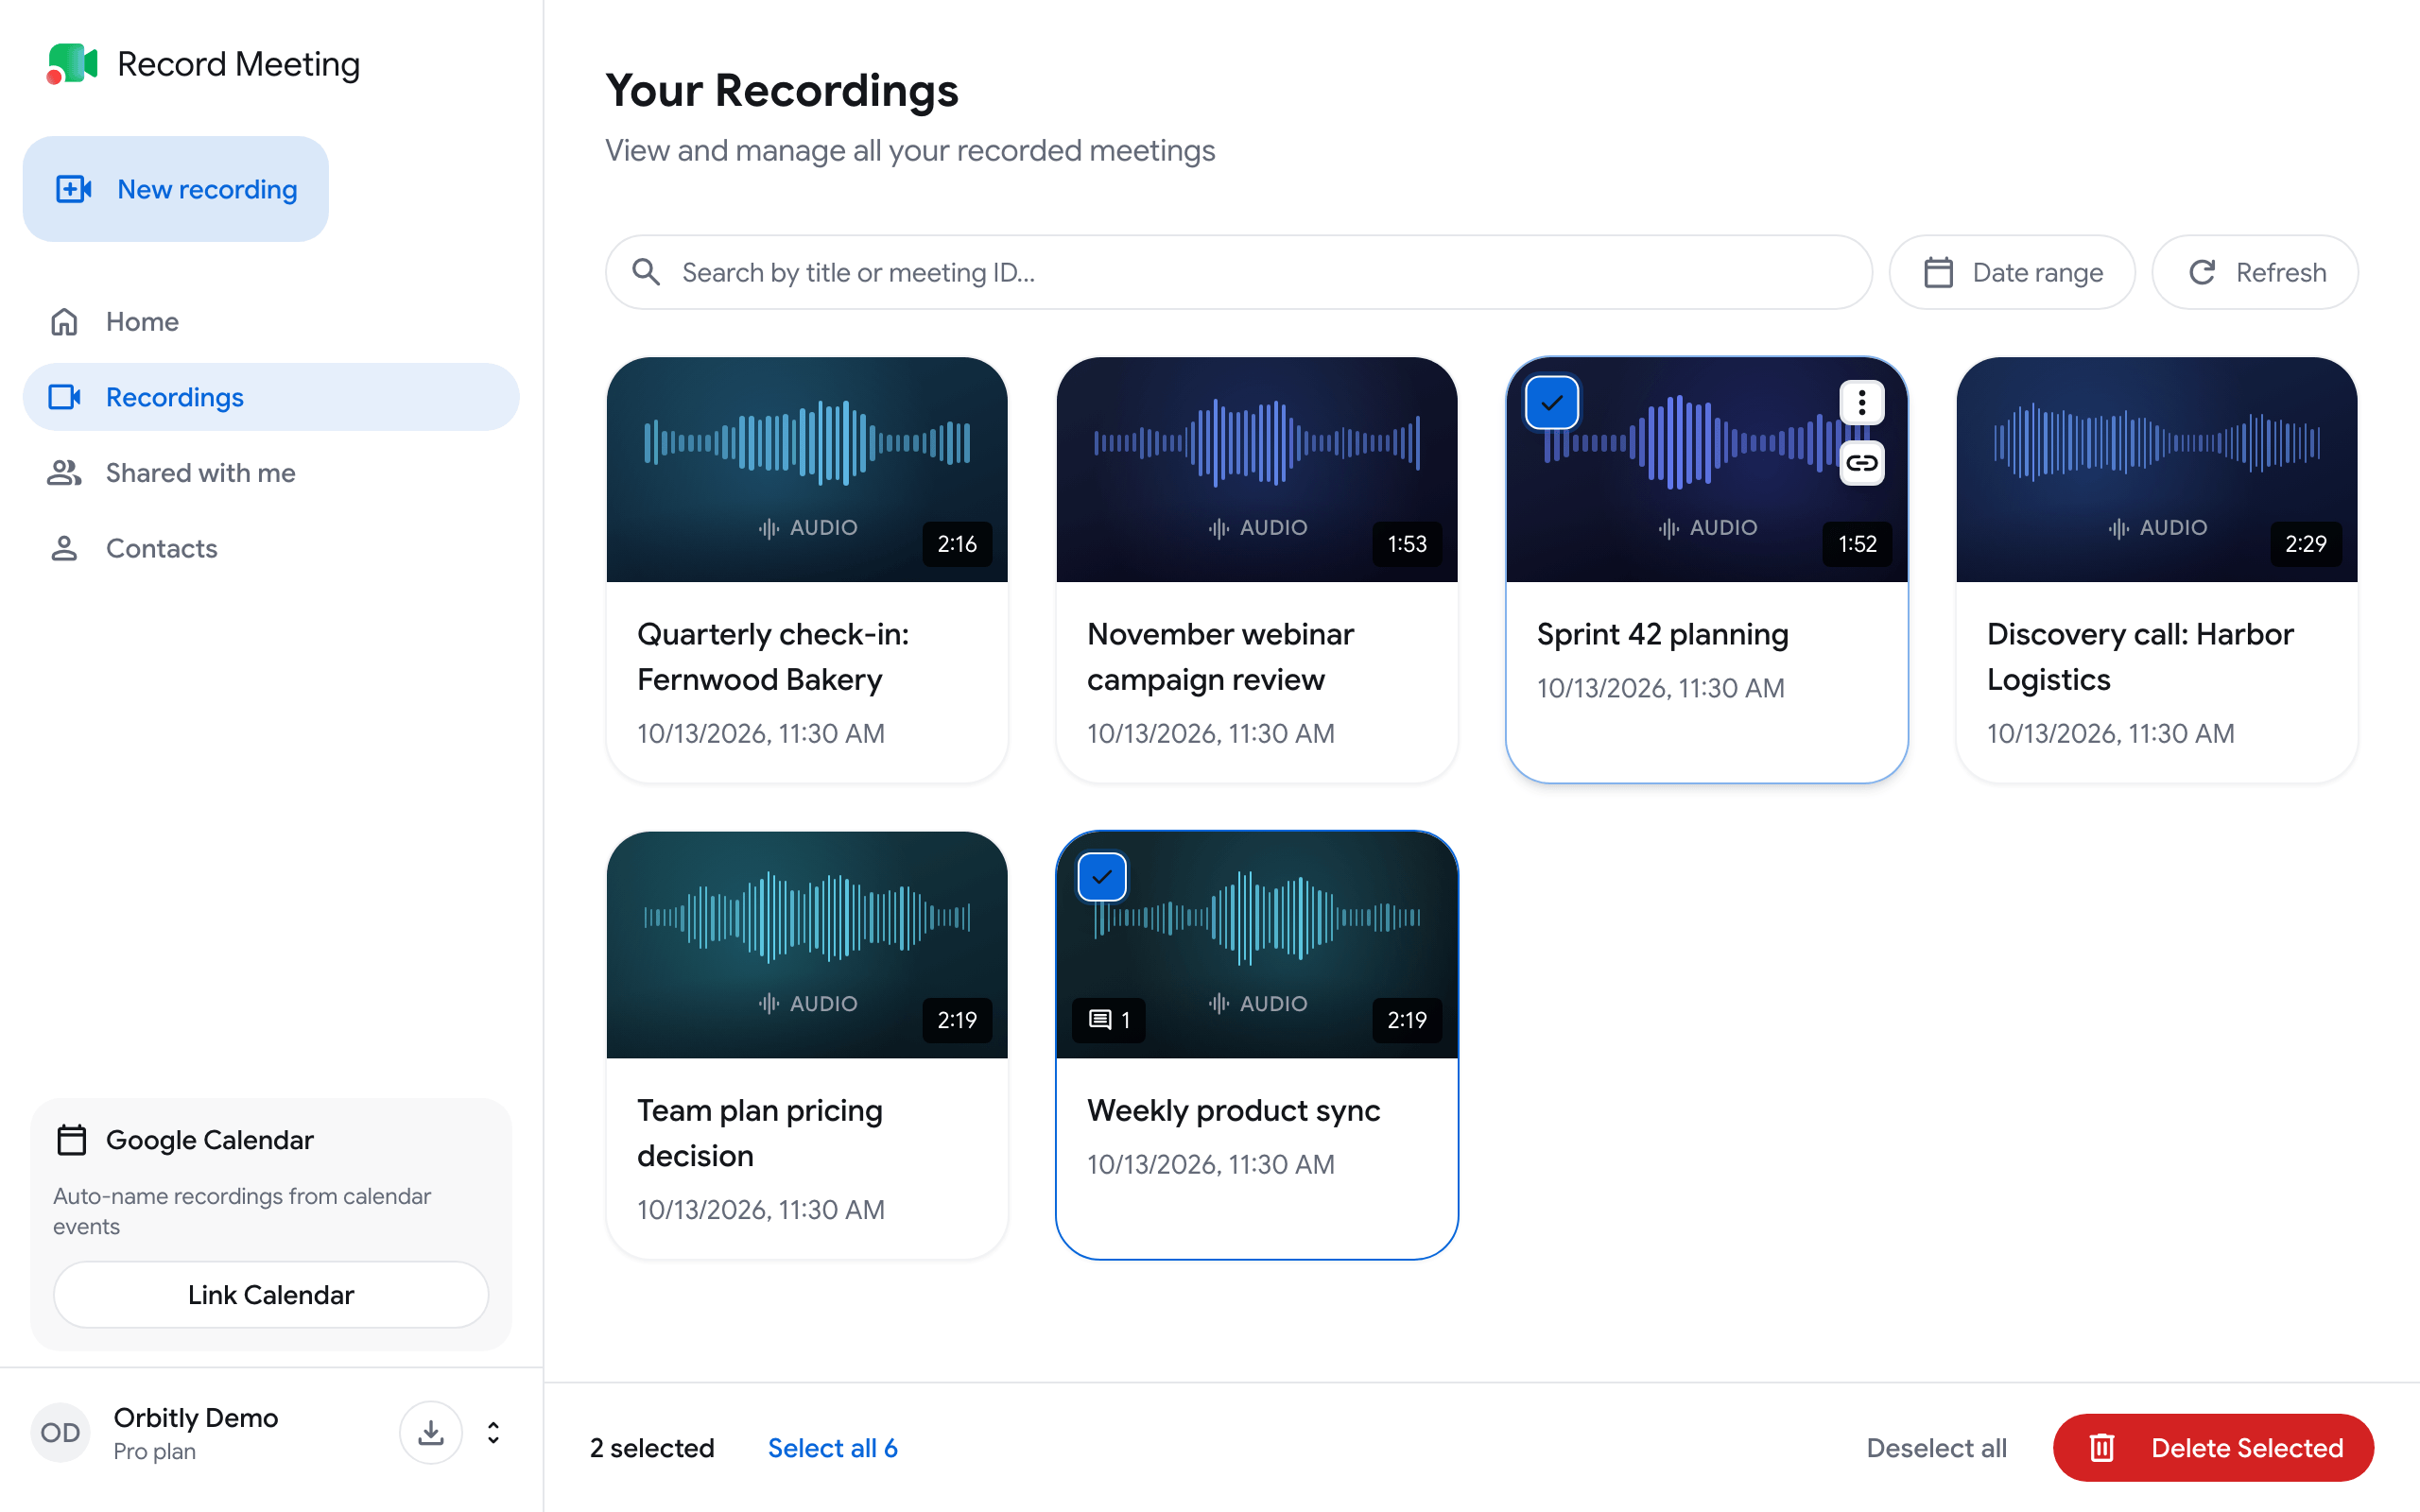
Each card shows the recording’s title, date and length. A comment icon with a number appears when the recording has comments. Click a card to open the recording page.
Search for a recording
Section titled “Search for a recording”Type in Search by title or meeting ID…. The list updates as you type.
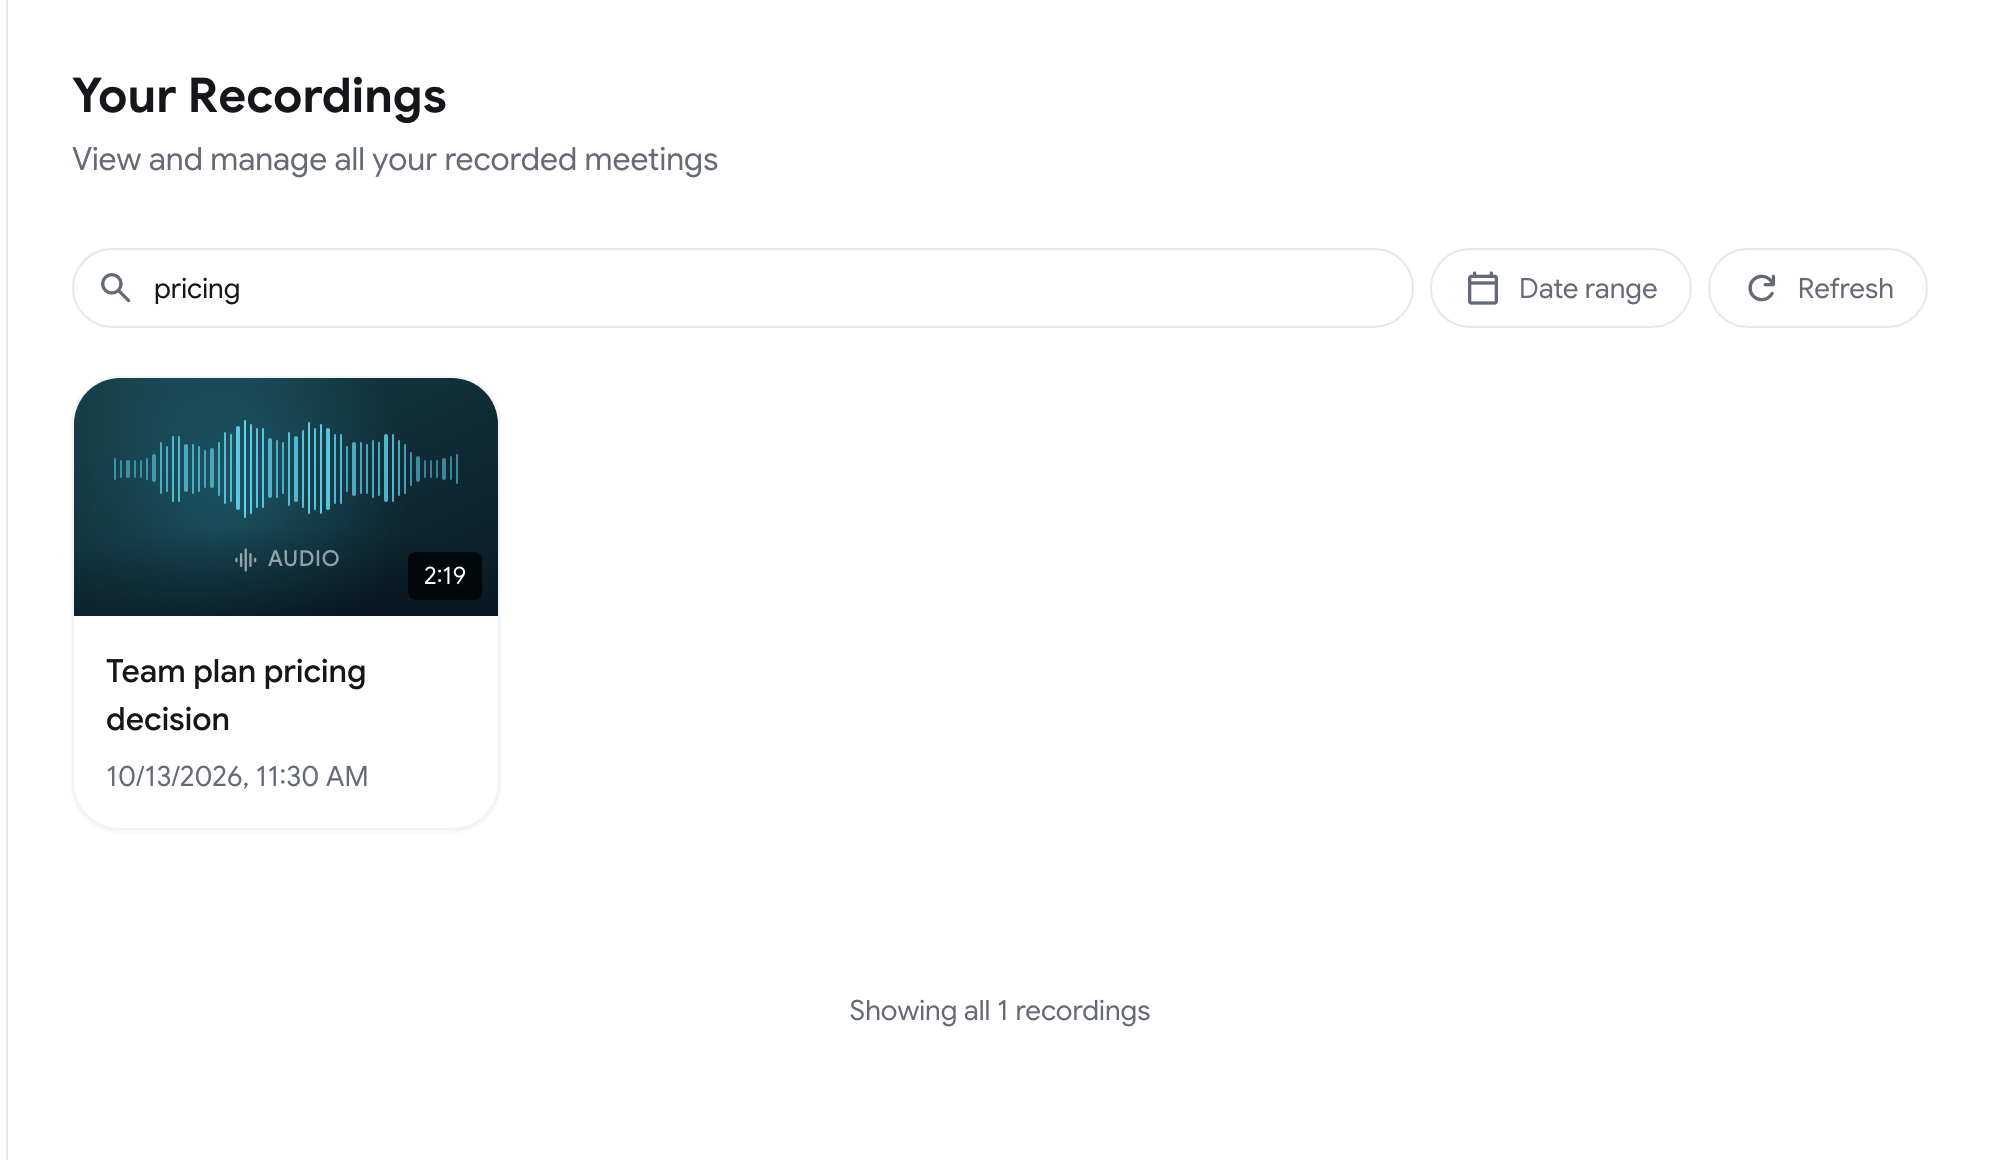
If nothing matches, the page shows No recordings found.
Filter by date
Section titled “Filter by date”-
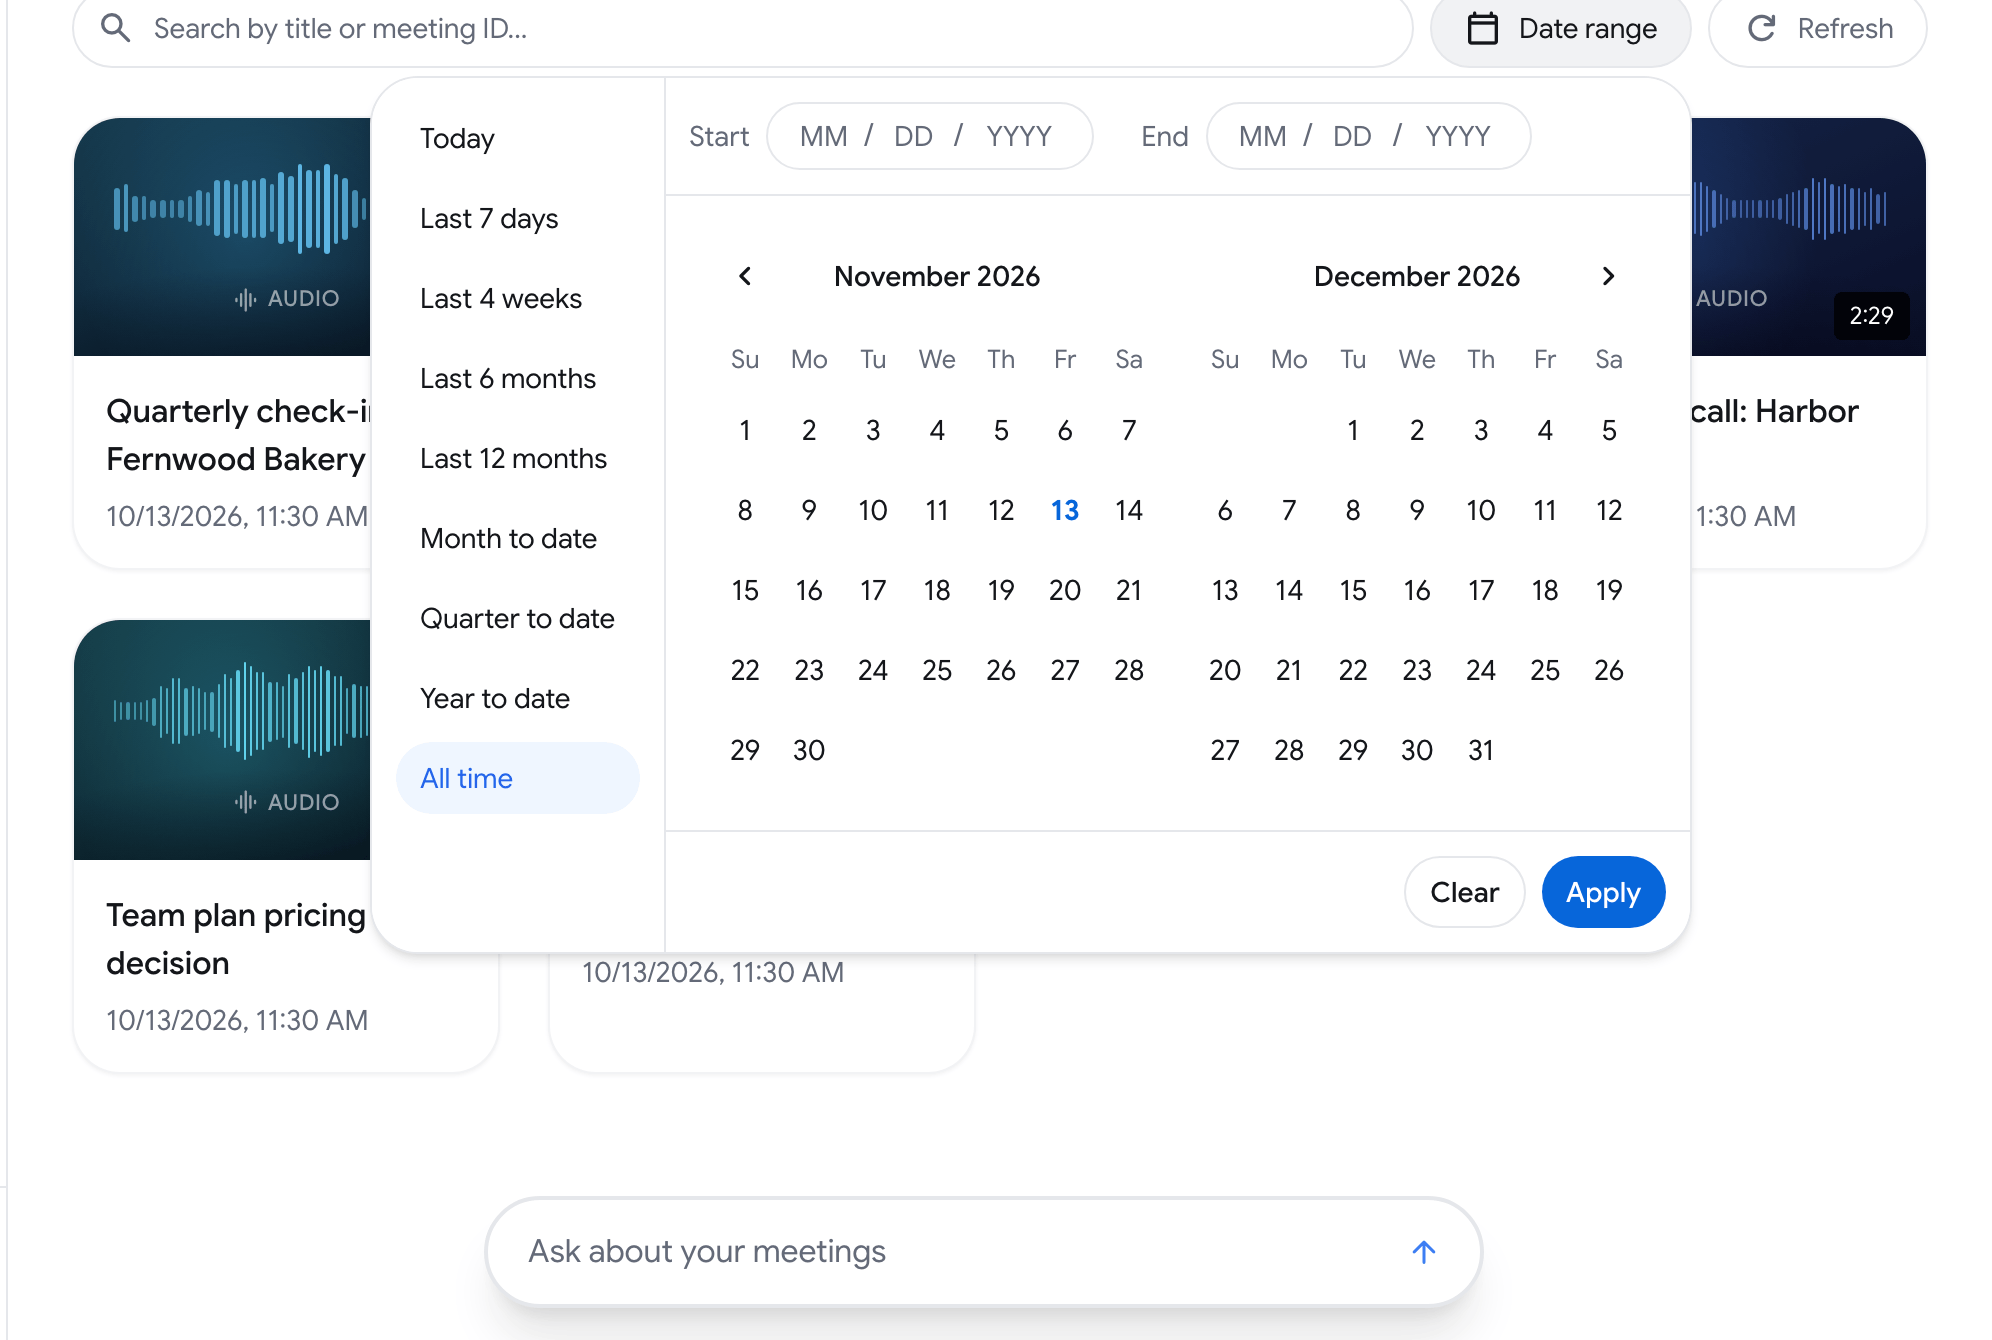
Click Date range.
-
Pick a preset (Today, Last 7 days, Last 4 weeks, Last 6 months, Last 12 months, Month to date, Quarter to date, Year to date or All time), or choose a start and an end day in the calendars.
-
Click Apply.
Refresh reloads the list, for example when a recording you just made is not there yet.
Share, rename or delete one recording
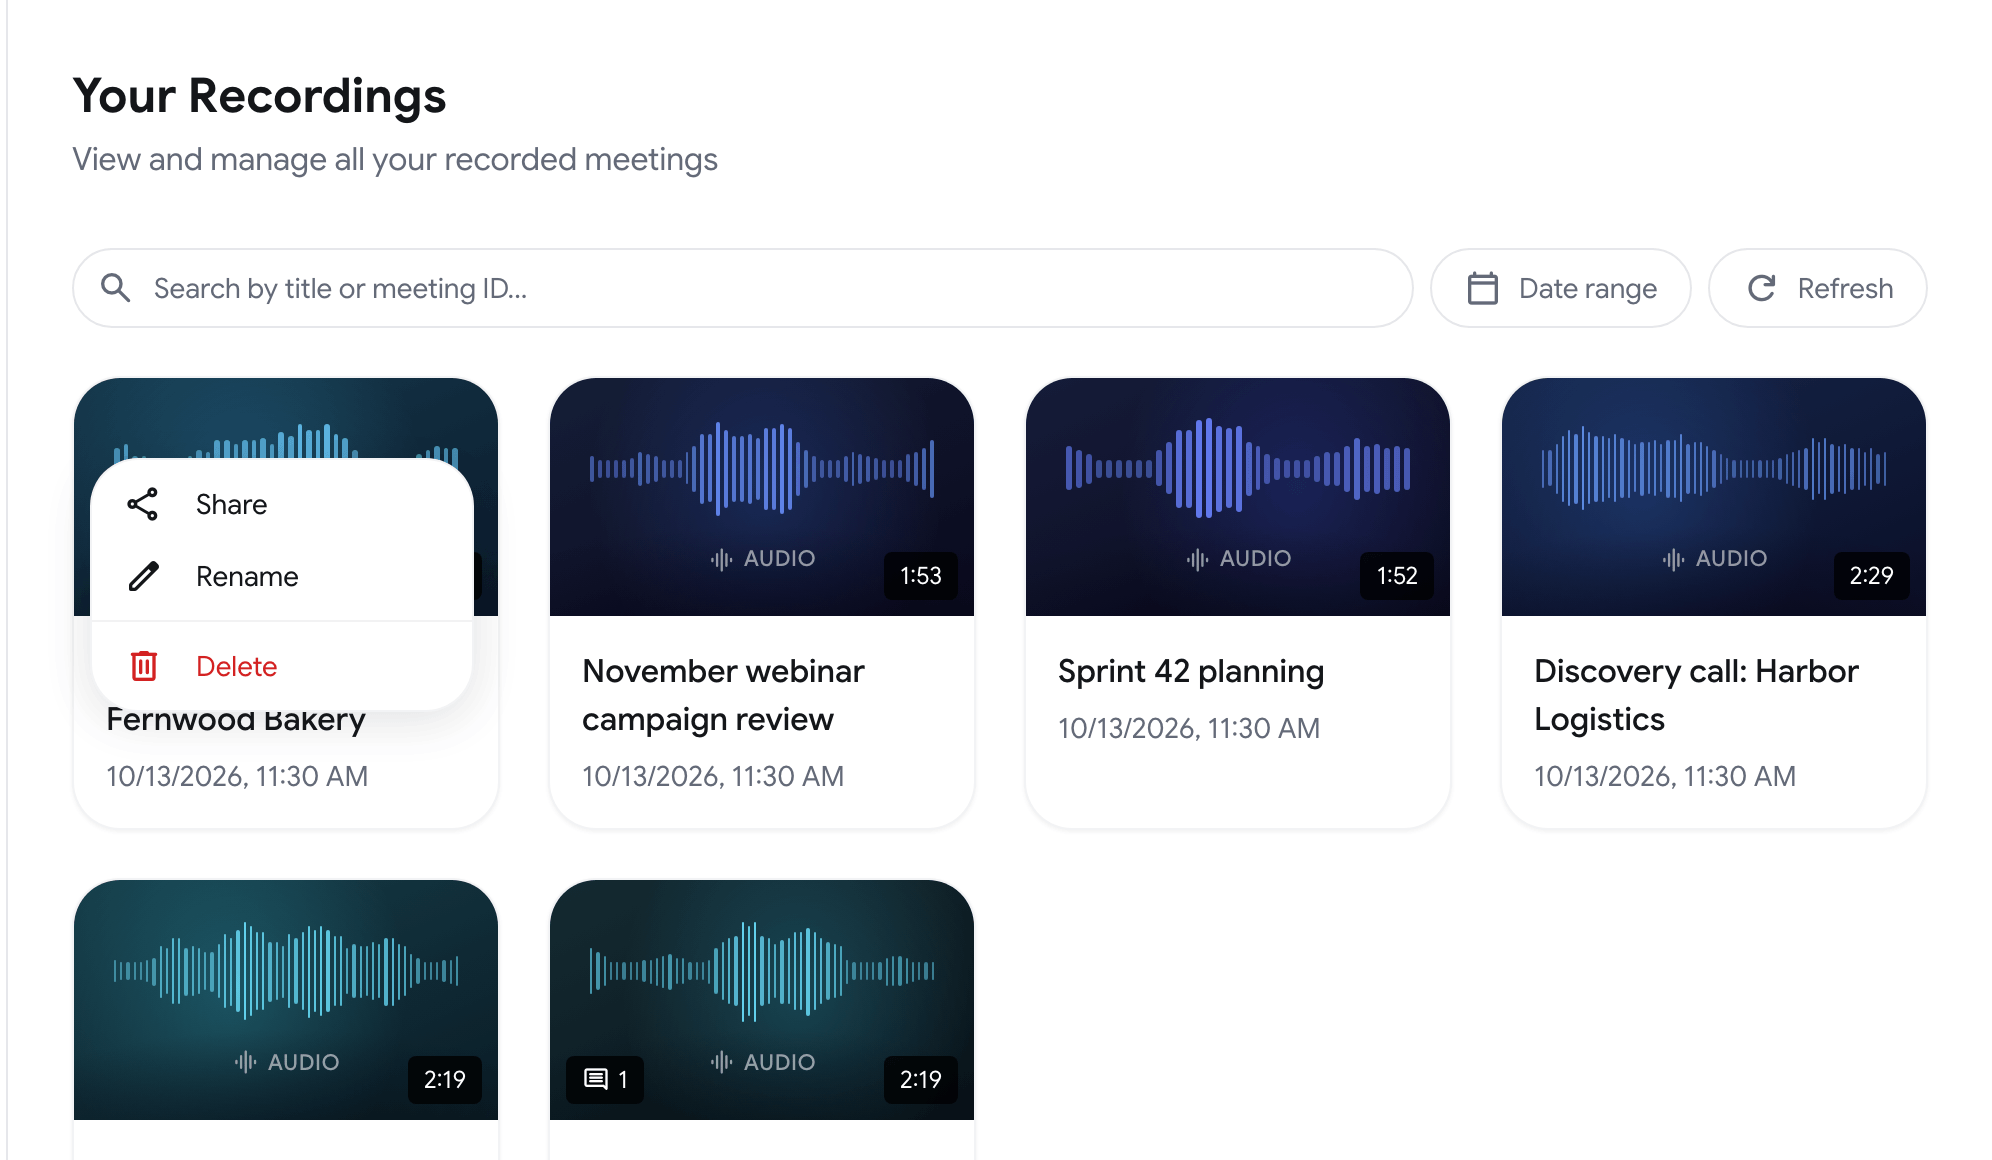
Section titled “Share, rename or delete one recording”Hover over a card and click the three-dot button (More actions).
-
Share opens the share dialog. See Sharing recordings.
-
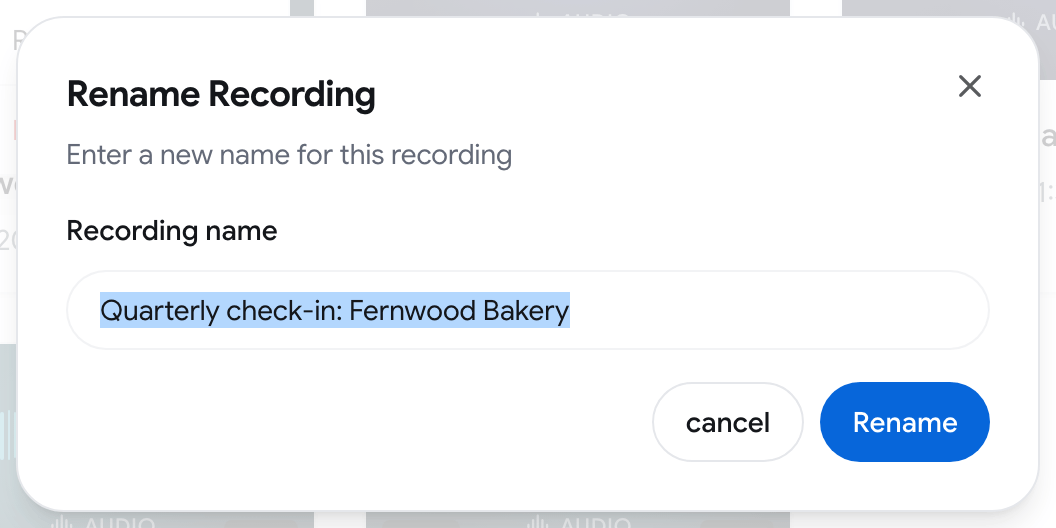
Rename opens the Rename Recording dialog. Type the new name and click Rename.
-
Delete asks you to confirm, then removes the recording.
The link button under the three dots copies the recording’s share link.
If you belong to an organization, the menu also has Move…, which moves the recording between your personal workspace and the organization.
Delete several recordings at once
Section titled “Delete several recordings at once”-
Hover over a card and tick the checkbox in its top left corner.
-
Tick more cards, or click Select all in the bar at the bottom of the page.
-
Click Delete Selected and confirm.
Deselect all clears the selection.
Merge a call that was saved in parts
Section titled “Merge a call that was saved in parts”Sometimes one call ends up as two or three recordings, for example when recording was stopped and started again. RecordMeeting notices this and shows the Was this one call? dialog with each part and its length.
- Merge into one recording joins the parts into one recording with a single transcript and notes. This needs Pro. On Free the button reads Merge with Pro.
- Delete the short clip appears when one part is shorter than a minute, in case it was only a test.
- Keep separate dismisses the suggestion.
Right after merging, a message with Undo lets you reverse it. If the message says The transcripts are still being prepared, try again in a few minutes.
Split a merged recording back into parts
Section titled “Split a merged recording back into parts”A merged recording shows Merged from (number) parts under its title.
- Open the merged recording.
- Click the three-dot menu in the top right corner and choose Split back into parts.
- Click Split to confirm.